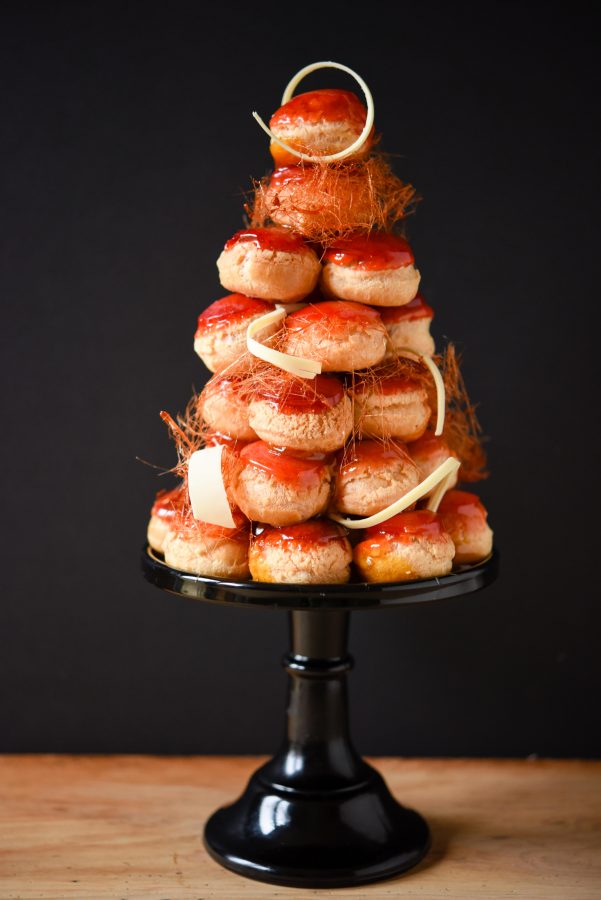
 A croquembouche is a great celebration cake and I have something wonderful to celebrate. I have been writing Patisserie Makes Perfect for three years. I can’t believe I have been blogging for three years! It has gone so quickly, so I must really be enjoying it, as they say time flies when you’re having fun.
I am so lucky to have a hobby that I love and that I can share with other people, whether that’s sharing the food I make or photos and recipes so that you can create them at home. It is such a boost when someone takes the time to email me or comment to ask my advice, or to tell me that they have made one of my recipes. Especially when the recipes work!
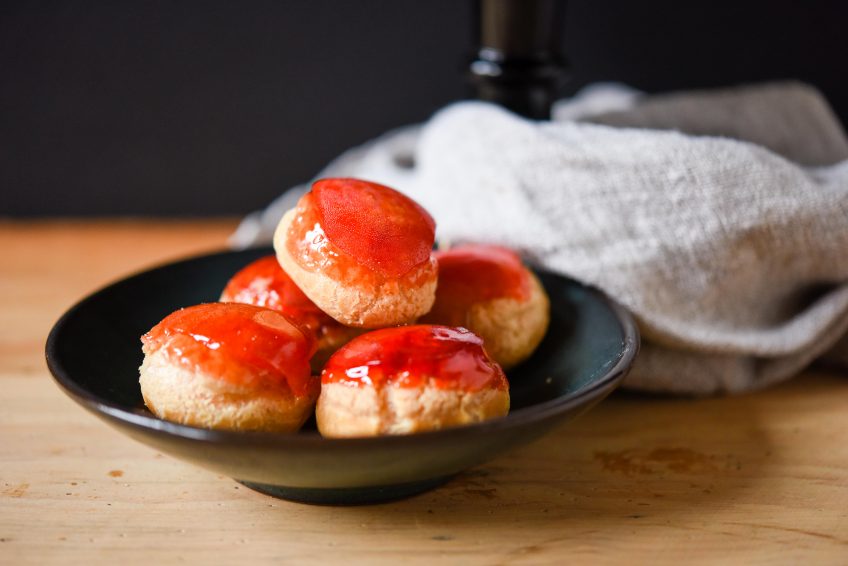
There must be something about choux pastry as I made a St Honore for my blog’s 2nd birthday and I didn’t even realise this until I came to sit and write down all about my croquembouche. I love choux pastry so much, it’s such a different pastry, for starters you cook it by making a paste, which you effectively dry out in the oven, there’s no other pastry like that. The type of pastry is instantly recognisable from eclairs, paris brest, religieuse and profiteroles it can even be savoury as well.
I’ve wanted to make a croquembouche for so long, but I had no idea what flavour to make. I had family round for dinner about a week ago and I made a rhubarb cheesecake, which was delicious and left me with a whole pack of forced rhubarb leftover. I decided to make more rhubarb curd using this recipe from Vikalinka, it’s a really delicious curd and will make more than you need. I would advise you to make the full recipe, even though you only need about half for the croquembouche as it’s not easy to halve the recipe – this is adapted from Edd Kimber’s book Patisserie Made Simple.
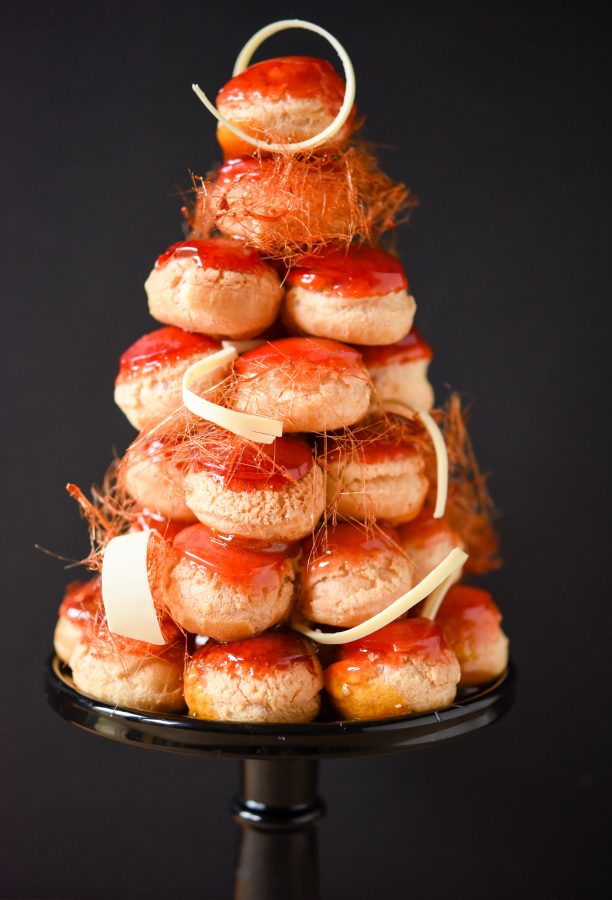
This croquembouche is a bit of a challenge to make and you need to be careful not to burn your fingers, but you will be so pleased with the result. You can change the flavours, perhaps lemon curd, or just the creme chantilly as a filling, it’s really adaptable.
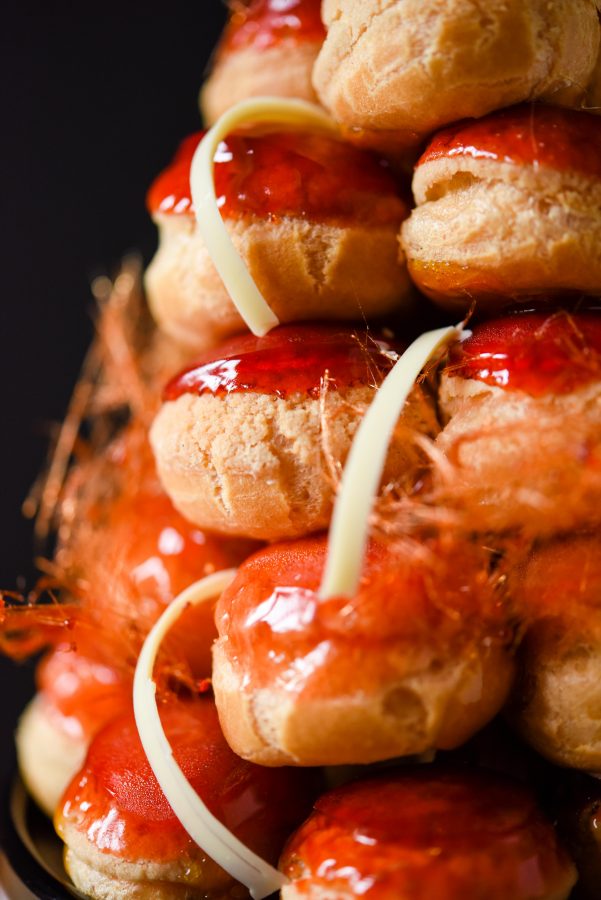
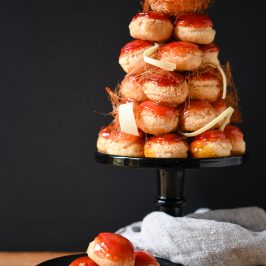
Croquembouche
Ingredients
- ***Craquelin***
- 60 g Plain Flour
- 60 g Golden Caster Sugar
- 50 g Unsalted Butter diced
- ***Choux Pastry***
- 60 g Unsalted Butter diced
- ¼ Tsp Salt
- 1 Tsp Caster Sugar
- 40 g Plain Flour
- 45 g Strong White Bread Flour
- 3 Medium Eggs
- ***Rhubarb Curd***
- ***Creme Chantilly***
- 360 ml Whipping Cream
- 1/2 Tbsp Vanilla Bean Paste
- 18 g Icing Sugar
- ***To decorate and assemble***
- 600 g Caster Sugar
- Red Food Colouring
Instructions
- Begin by making the craquelin, mix the flour, sugar and butter together in a bowl, using your fingertips rub the ingredients together until they resemble breadcrumbs.
- Then press the breadcrumbs together until they form a dough. Place the dough between two sheets of greaseproof paper and roll out the dough until it's 2mm thick. Place the dough on a baking tray, still covered in the greaseproof paper and put it in the freezer.
- After about 30 minutes, remove the craquelin from the freezer and cut out lots of 3cm rings using a cookie cutter, you should fill the sheet with circles as you need a lot. Return the craquelin discs to the freezer until you are ready to use them.
- Next make the choux pastry, preheat the oven to 180C (160C Fan) Gas 4 and line three baking trays with baking parchment.
- Put the butter, salt, sugar and 120ml water in a medium pan over a medium-high heat. Once the butter has melted and the mixture is at a rolling boil, add the flour and quickly stir together with a wooden spoon until the mixture forms a dough.
- With the pan still on a low heat, stir vigorously for 2 minutes, then tip the dough into a bowl and beat for a few minutes until it stops steaming. These two actions help to cook the flour and dry out the dough, which in turn helps it to absorb more egg. This helps the choux pastry to expand properly as it bakes.
- Add the eggs, one at a time, beating until fully absorbed before adding the next. Depending on the flour used and how much water evaporated as you made the dough, the choux pastry will need varying amounts of egg, so the above is given as a guide.
- With this recipe I usually add two eggs and then very slowly start adding the remaining egg, checking the texture of the dough after each addition. You are looking for a dough that has a shine and when it is lifted from the bowl, it should fall from the spatula in a ribbon that forms a "V" shape. If the dough doesn't contain enough egg, it won't expand properly and will be prone to cracking as it bakes; if there is too much egg, the dough won't hold its shape and will collapse as it bakes.
- To prevent the dough from drying out and forming a skin, immediately put the dough into a piping bag with a 1.5cm plain round piping tip fitted.
- Pipe blobs of choux pastry on the prepared baking trays that are around 2.5-3cm in size. Keep piping blobs that are 2cms apart until you run out of choux pastry. Depending on the size of your trays you may use all 3 trays or just 2 of them.
- Top each choux pastry round with a craquelin disc and place the trays of choux pastry in the oven to cook for 30 minutes until the choux has risen and the craquelin is golden. You may find you need to turn the trays after 15 minutes to ensure the pastry colours evenly.
- Turn off the oven and leave the choux pastry in the oven for 30 minutes to dry out.
- To make the creme chantilly, in a large bowl combine the cream, vanilla and sugar. Whip until past the soft peak stage, but not quite stiff peak. Place the cream in a piping bag fitted with a 1cm round nozzle and return to the fridge until you are ready to use it.
- Take the rhubarb curd and place it in a piping bag with a 1cm round nozzle fitted, place the curd in the fridge.
- Pierce holes in the bottom of the choux buns using a sharp knife, make sure the hole is big enough for the nozzles to fit through. Place all the of the choux buns on a tray with the hole facing upwards.
- In each choux bun pipe a small blob of rhubarb curd until you have filled every choux bun. You will not use all the curd, whatever you have left can be stored in a jar in the fridge for about 2 weeks at the longest.
- Next take the creme chantilly and pipe it into all of the buns until they are completely full. Place the choux buns cream side down and when they are full start making the caramel.
- Make sure you have all you need to hand, a cake stand or plate to make the croqembouche on.
- The caramel will be the glue that keeps the whole gateau together. To make caramel, put half the sugar in a heavy based pan and melt it over a gentle heat. Add the rest of the sugar and melt, add the red food colouring until you get the colour you desire.
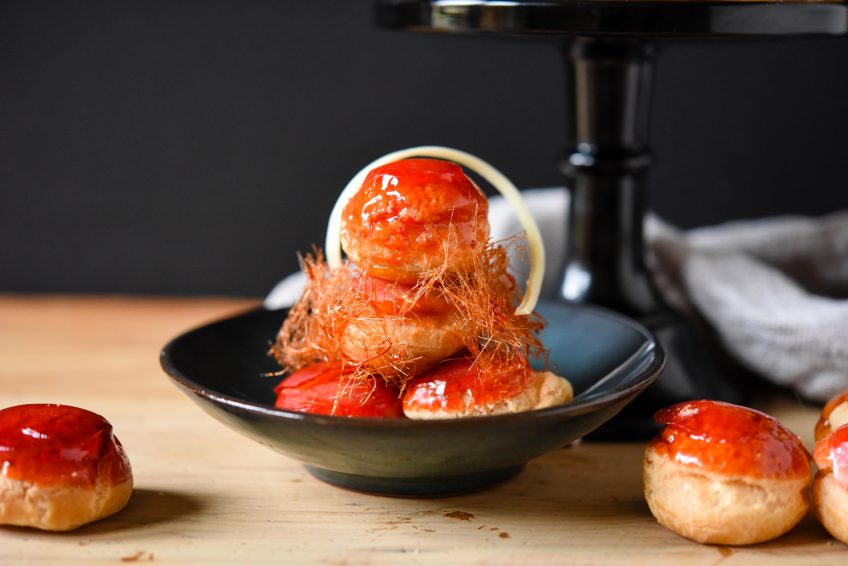
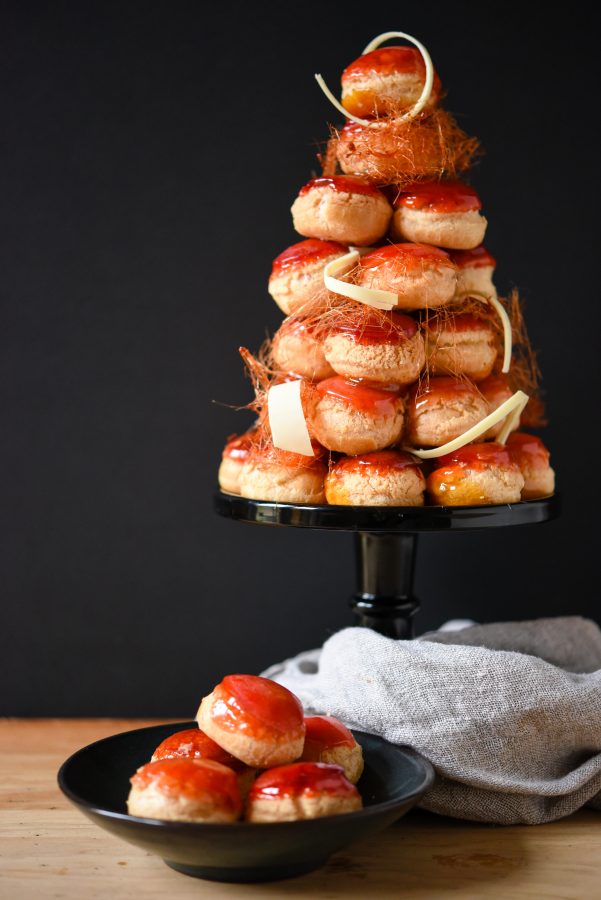
- Take the caramel off the heat and leave it a few seconds to thicken. Dip the top of the choux puff in the caramel, you can place it in a silicone semi-sphere mould to set the caramel evenly. When cool, dip the side and bottom of the choux puff in the caramel and stick this to the bottom of the cake stand and create a circle of choux buns, keep dipping buns and work your way up to a point, creating smaller rings each time. I started with a 6 inch cake stand and built the croquembouche on there. Use the caramel like glue and keep working upwards. You will need to work quickly, but if the caramel hardens just warm it again to soften it.
- You can decorate the croquembouche with spun sugar, tempered chocolate curls or even edible flower like violas or rose petals.
If you’re looking for some more choux pastry inspiration take a look at these recipes from other bloggers:
~ Choux Buns: Lemon Curd, Strawberry, Chocolate and more chocolate ~
~ Mont Blanc Profiteroles ~
~ Eclairs: White Chocolate and salted caramel, Lemon ~
I just wanted to take this opportunity to say thanks to all of you that have read my blog over the last three years. I really appreciate all of the comments, shares and support that you have given me, here’s to another 3 years and if there’s anything else you’d like to see me make please pop it into the comments.
Thanks for reading.
Angela


Jodie Dodd
Happy Belated Blog Birthday Angela!! Wow, 3 years?!! The time really does fly. Your croquembouche is beautiful! I love the look of the spun sugar and curls. Your love for baking genuinely shines through in this blog. Here’s to many more years! xx
xx
Ruby & Cake
Congratulations on your 3 years Angela! That is a great milestone to celebrate and croquembouche is such a perfect way to do it!! I have only ever eaten them at weddings and been too afraid to attempt them on my own. You have inspired me to try though!!
patisseriemakesperfect
Oooh do it, make one! Smashing it apart was the most fun Make it just for that reason – take a picture first though!
Sugar et al.
How amazing and stunning Angela! Congratulations on completing 3 years and here’s to many many more.
patisseriemakesperfect
Thank you so much and thank you for all of your lovely comments! x
Laura@howtocookgoodfood
What a great way to celebrate a 3 year blog anniversary. This was my initial thoughts too for a wedding cake before opting for a ChoccyWoccyDooDah cake but I do have to make one myself too as I adore making pastries of any description. Thanks for linking to my profiteroles too!
patisseriemakesperfect
Thanks Laura, oh that cake does sound like it would have been amazing! Definitely try making a croquembouche, they are fantastic.
Camilla Hawkins
Show stopping Croqueemouche Angela, the perfect way to celebrate your 3 year blogging anniversary – congratulations:-) Thanks for linking to my Strawberry Choux buns:-)
patisseriemakesperfect
not a problem Camilla, thanks for sharing your recipe. This tasted delicious and thanks for the congratulations.
Anastasia
Happy blog anniversary, Angela! Love your beautiful croquembouche! It’s on my baking list for ages, I really need to make it this year:)
patisseriemakesperfect
Thank you so much Anastasia, you really need to try making a croquembouche, it’s so rewarding.x
Hannah Hossack-Lodge (Domestic Gothess)
This is stunning Angela! You’re so clever Happy blog birthday and here’s to hopefully many more! xx
patisseriemakesperfect
Aww thanks Hannah, I had a lot of fun making this – despite my burnt hands!
munchies and munchkins
Congrats on your blog birthday! I made a croquembouche a few years ago for my boyfriends birthday and it was nowhere near as pretty as yours! Thanks for including my buns x
patisseriemakesperfect
It doesn’t matter how good it looks if it doesn’t taste nice I’m sure your croquembouche was lovely. x
Lucy Parissi
Looks incredible Angela!! I wanted to have a croquembouche at my wedding but we were on a small Greek island at the time and let’s just say it was a bit ambitious. Maybe I can get you to make me one of my 15 wedding anniversary next year instead. Happy blog anniversary and here’s to many more!
patisseriemakesperfect
Thanks so much Lucy and thanks for your support. Ooh a big celebration croquembouche – i’m not sure I could handle the pressure, of worrying if it would collapse
Emily
Amazing! This looks so beautiful and gorgeous photography too. Happy bloggy birthday and thanks for including my eclairs
patisseriemakesperfect
Thanks Emily – your eclairs were fabulous too, so glad you like the croquembouche. x